Training Management
Creating Certificate Templates
A certificate template holds everything that appears on the certificates your classes issue: the logo, the signatures and the names beneath them, the class details block, and the fine print. It also points at the certificate layout that decides where all of it sits on the page. Certificates are generated automatically for clinicians who complete a class, so the template is set up once and then does its work quietly.
Templates live under the Classes menu by choosing Certificates. Admins can build and edit them, and training officers in departments granted edit access on a template can change that template as well.
The Certificates Page
Open the Classes menu and choose Certificates. The Organization Certificates page lists every template your organization has, with its logo, name, and the dates it was created and updated.
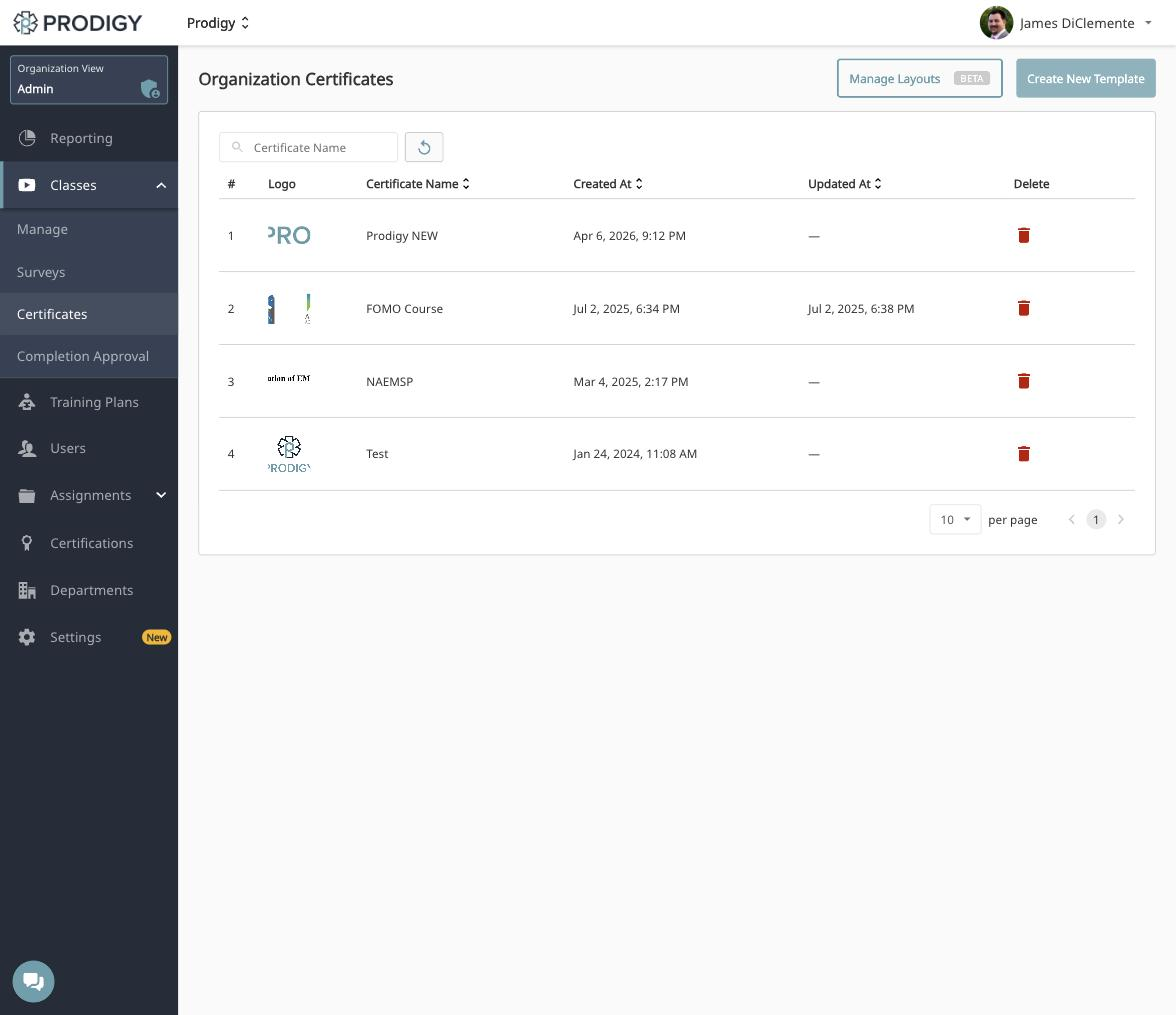
Click Create New Template to build a new one, or the pencil icon on any row to edit an existing one. The trash icon deletes a template. Both forms hold the same fields, so everything below applies whether you are creating or editing.
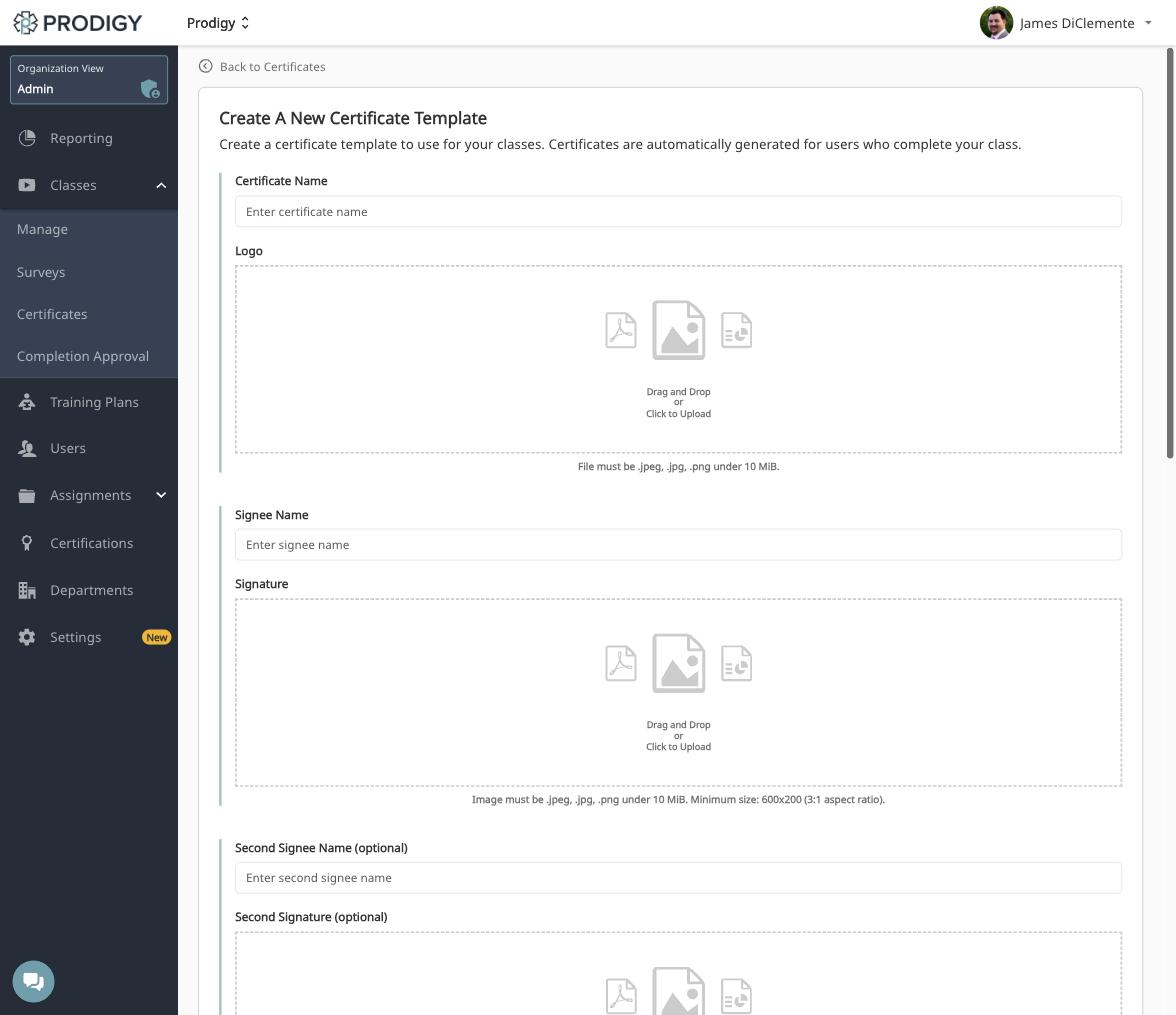
Certificate Name and Logo
The Certificate Name identifies the template when you pick a certificate for a class, so name it for the audience or the program it serves rather than for a single course. A name like "Allina Health EMS" or "Conference Certificates" will still make sense a year from now, where "New Cert" will not.
The Logo is the organization mark that prints on the certificate. Upload a .jpeg, .jpg, or .png under 10 MiB.
Signatures
Signee Name is the line of text that prints under the first signature, and it is where the signer's credentials belong, as in "James DiClemente, CAPCE Coordinator". The Signature image itself must be a .jpeg, .jpg, or .png under 10 MiB, at a minimum of 600 × 200 pixels in a 3:1 aspect ratio. A signature scanned or exported wider than it is tall reproduces far better than one squeezed into a square.
Second Signee Name and Second Signature are optional and follow the same rules. A medical director's signature alongside the coordinator's is the usual reason to use them. If your layout has no second signature section, leave these empty.
Signatures come from the template, not the class
Every class using this template prints the same signatures. If a program needs a different signer, that program needs its own template.
Certificate Layout
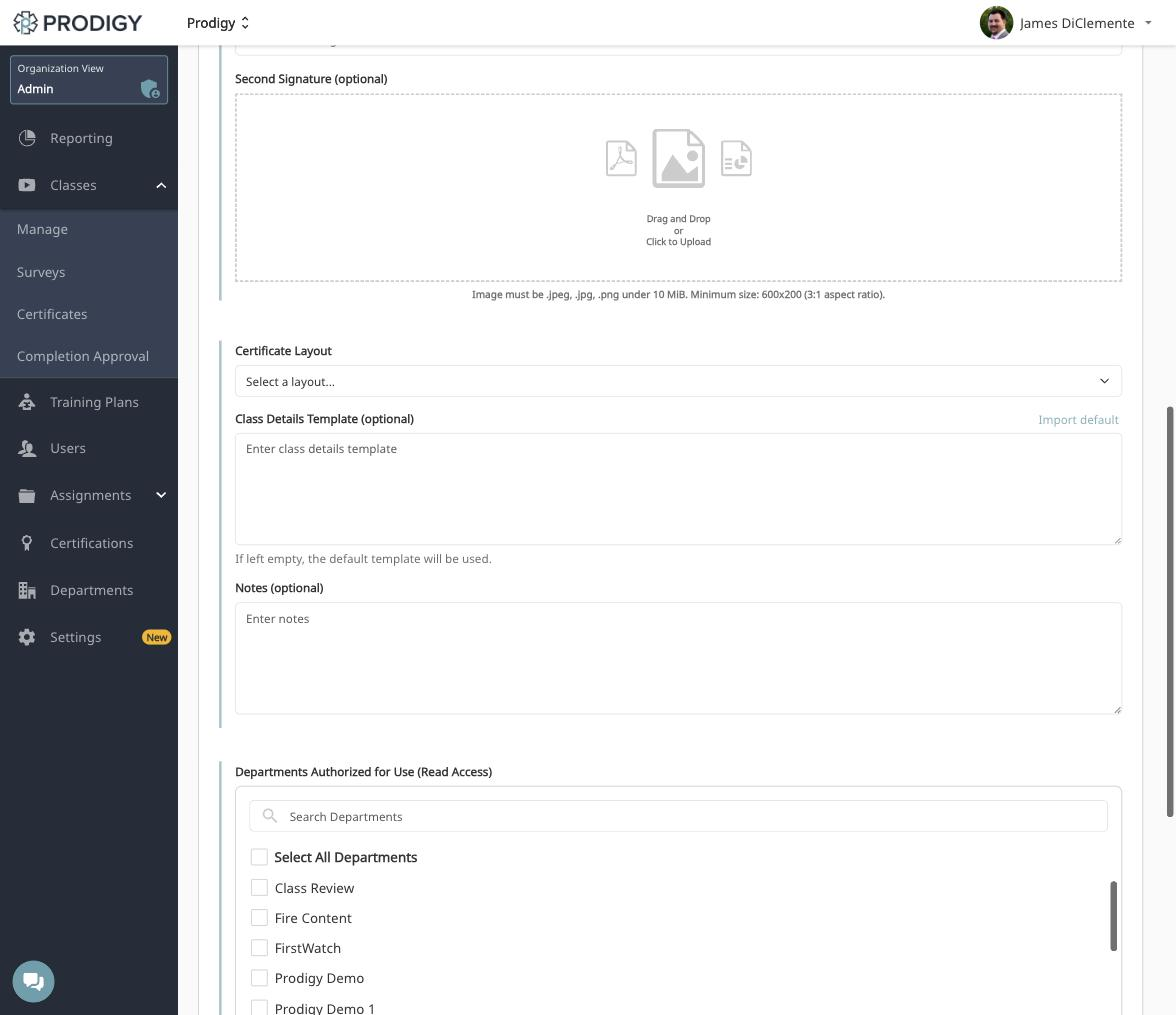
The Certificate Layout dropdown chooses which layout positions the elements on the page. The template supplies the content and the layout decides where it goes, so the same logo and signatures can print in two very different designs depending on the layout selected.
Class Details Template
The Class Details Template builds the block of class information that prints on the certificate, typically class type, credit hours, CAPCE number, and category. Click Import default to load the standard block rather than writing it from scratch, then adjust it if your program needs something different. Leaving this field empty uses the default template.
The default block looks like this, and the values in double curly braces are replaced with the real class data when a certificate is generated.
Class Type: {{classType}}
Credit Hours: {{creditHours}}
CAPCE: {{nationalApprovalNumber}}
Category: {{classCapceCategory}}
The full default also includes conditional sections, written as {{#nationalApprovalNumber}} and {{/nationalApprovalNumber}}, which print a line only when the class actually has that value. This is why a class with no state approval number does not print an empty "State Approval" line. Import the default and edit around those conditionals rather than removing them.
Notes
Notes holds the fine print at the bottom of the certificate. For CAPCE-accredited content this is the accreditation statement, which also accepts variables such as {{classDuration}} and {{classCapceCategory}} so a single statement serves every class using the template.
Check your accreditation statement
The notes field is where your CAPCE provider number and accreditation language live. Copy the wording from an existing template rather than retyping it, because a certificate that misstates accreditation is a problem for the clinician holding it.
Department Access
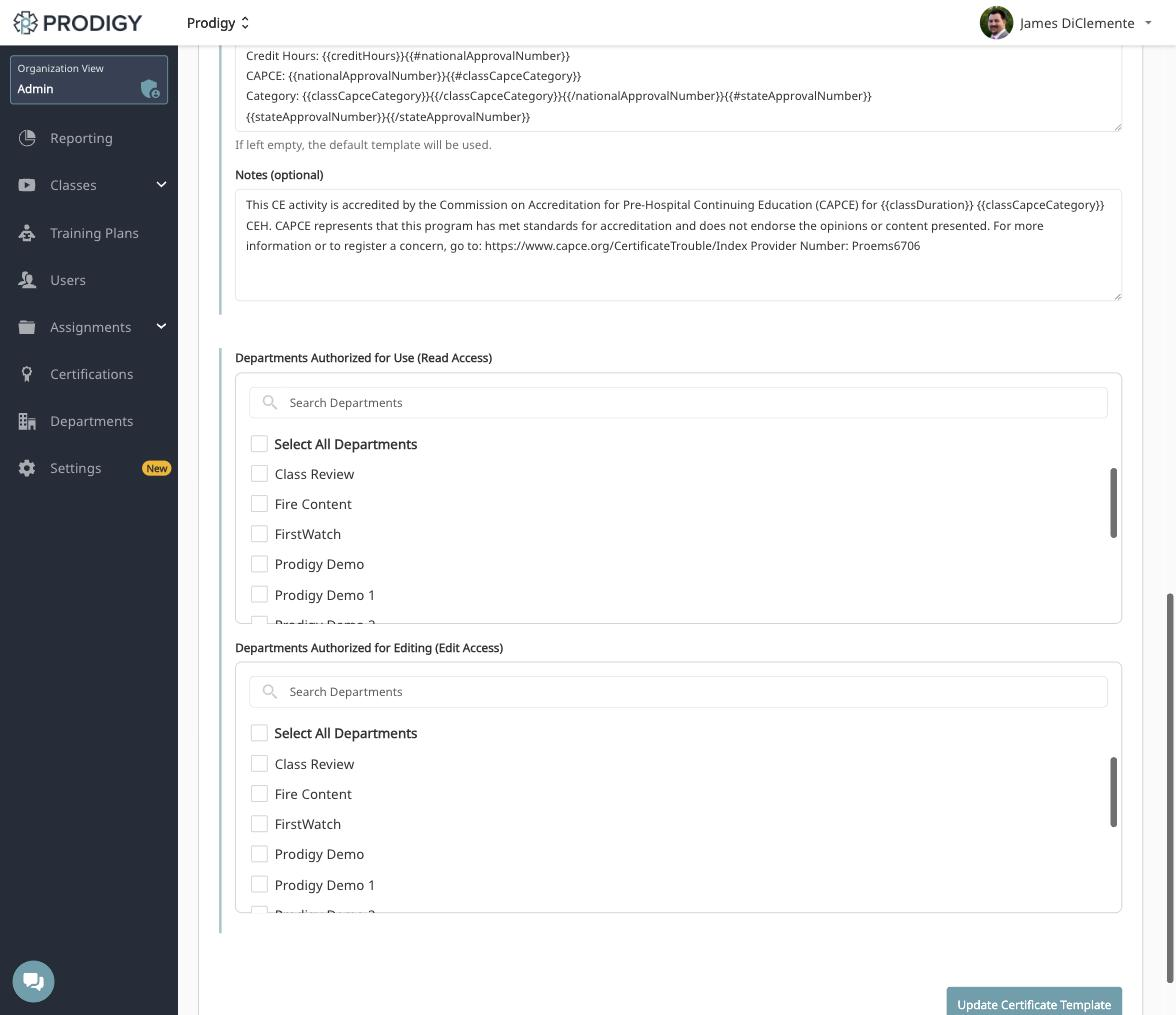
Two department pickers at the bottom of the form control who can reach the template. Each has a search box and a Select All Departments option.
- Departments Authorized for Use (Read Access) - these departments can apply the template to their classes.
- Departments Authorized for Editing (Edit Access) - these departments can change the template itself.
Grant read access broadly and edit access narrowly. A department that only needs to issue certificates from a template does not need the ability to change the logo or the accreditation statement on it.
Click Create Certificate Template to save a new template, or Update Certificate Template to save your changes to an existing one.
Choosing a Certificate for a Class
A template does nothing until a class points at it. The certificate is selected while you build the class, in a step of the Add Class flow after Class Details, rather than on the Edit Details form of a class that already exists.
Working with Layouts
If the design itself needs to change, that is the layout rather than the template. See Creating Certificate Layouts for building and editing layouts, including the layout JSON reference.