Account Management
Managing Groups
Groups allow you to more easily report, assign classes, and add training plans to users. It also allows you to more easily sort your user list which can be helpful for larger departments.
Groups
Groups serve 3 main functions in Prodigy, a user can be in multiple groups but does not need to be in any groups.
Training Plans and Groups
Organizational training plans are applied to users based on groups. When a custom training plan is built, it will be assigned to a group. When a user is added to a group with a training plan assigned to it, the user will immediately be able to access that plan from their training plans tab.
User Tab Filtering
The user table can be filtered based on groups, this allows you to more easily manage large groups of users.
Class Assignments
When assigning classes, you can filter your list by groups. This will allow you to easily assign a class to an entire group. You may want to assign a class to all Paramedics or all FTOs, this becomes much easier with groups.
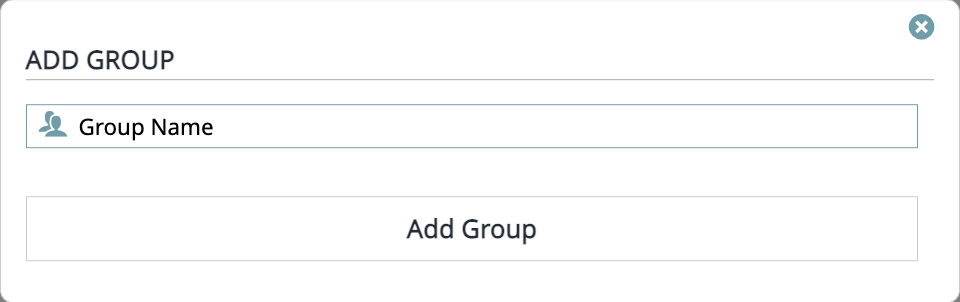
Creating a Group
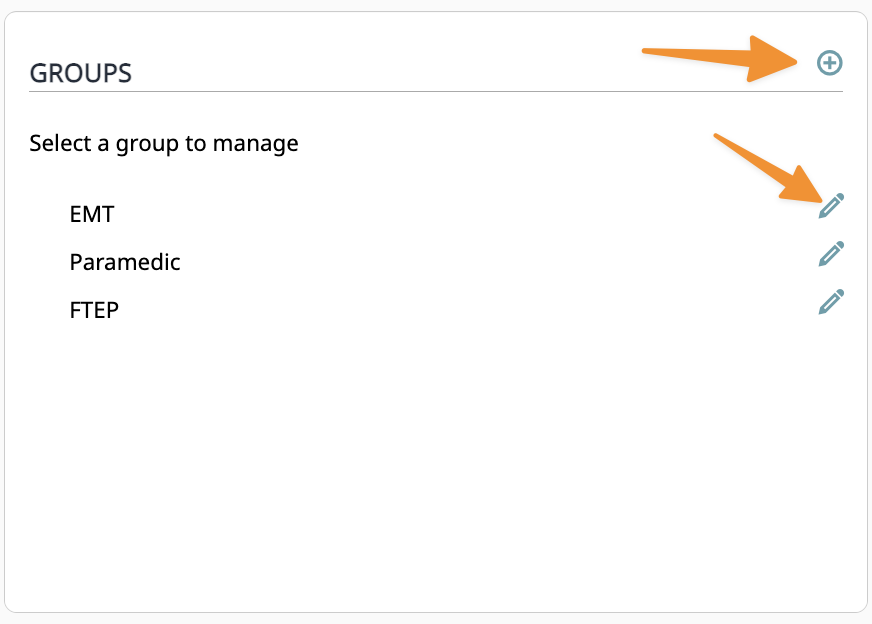
Groups are created from the department tab, by hitting the plus sign in the group panel. The only information you need to enter to add a group is a name, then hit Add Group.
Editing Groups
If you need to change this group name once completed, please reach out to our support team for assistance.
Deleting Groups
Hitting the pencil edit icon on a group brings up a modal that allows you to delete a group.
Adding Users to Groups
You can add users to groups from either the groups menu on the department tab or from the user tab.
From the Department Tab
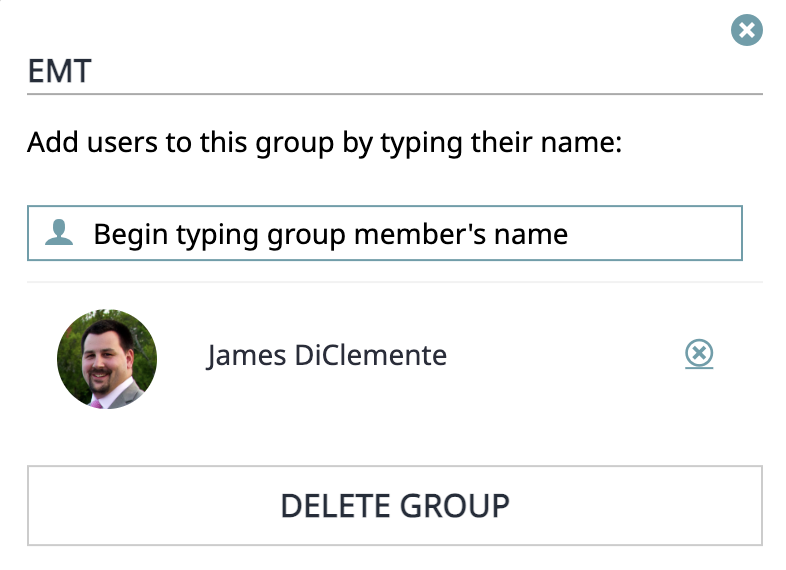
Click on the pencil icon next to a group and you will be presented with a modal that allows you to enter users names or emails and add them to a group. This is a good option if you are adding multiple people to a group.
From the User Tab
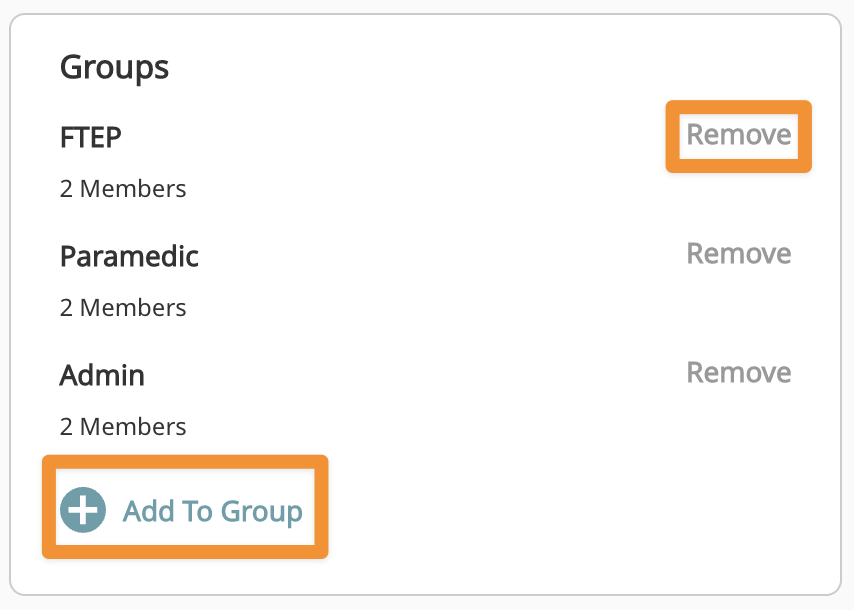
Click on an individual user from the Users tab and you will see a Groups panel. Click Add To Group to add the user to a group.
Remove a User from a Group
You can remove a user from a group from the same two spots.
From the Department Tab
Click the X next to a users name in the group list, this is a better option when removing multiple users.
From the User Tab
From the individual user record, click the Remove button next to the group name.